How can we help you?
After you configure SmartV, Titan generates the pages users need to log in, verify their identity, register, and manage their profiles.
You can access these pages from the Titan web builder to review and customize their content. You can also add a header with a Sign In option, then preview the project and test the full SmartV user journey before publishing it.
Complete the SmartV setup before managing or testing the generated pages. The pages and features available in your project depend on the options enabled during setup.
Titan generates the following SmartV pages based on your configuration:
Save the project after completing the SmartV setup. This ensures that the configuration and generated pages are available in the visual builder.
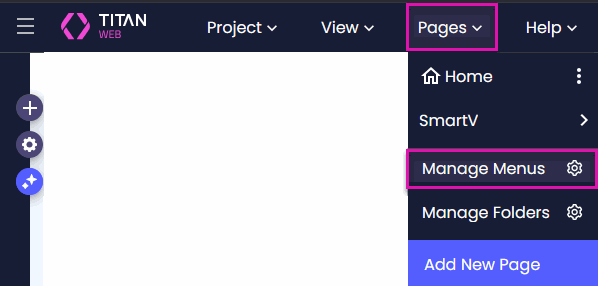
You can access the pages using either of the following methods.

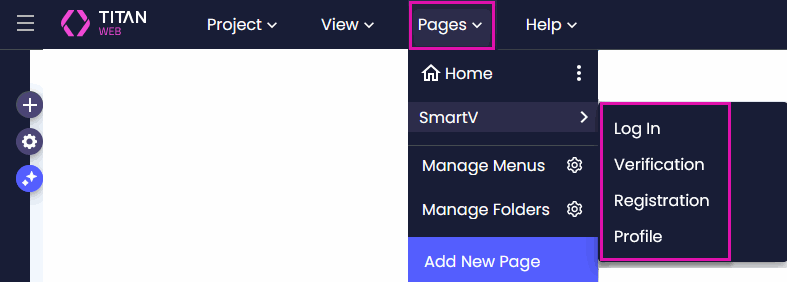
Open each available page to review its fields, text, branding, and layout. You can customize these pages to match the rest of your project, but avoid removing fields or actions required for the SmartV process.
Add a header so users can access the SmartV login process from your project’s main navigation. When the header is enabled, Titan adds a Sign In option that directs users to the SmartV login page.
The header can also display your logo, project title, page links, and user account options.
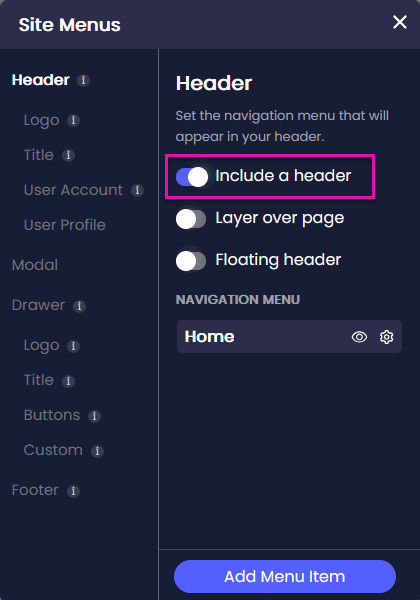
The header appears at the top of the project, with the Sign In option displayed on the right.

You can further customize the header to include:
Include only pages that users can access from the main navigation.
Preview the complete project to test SmartV as a user would. Opening a SmartV page in the visual builder lets you review its design, while Preview mode lets you test its fields, actions, navigation, and Salesforce connection.
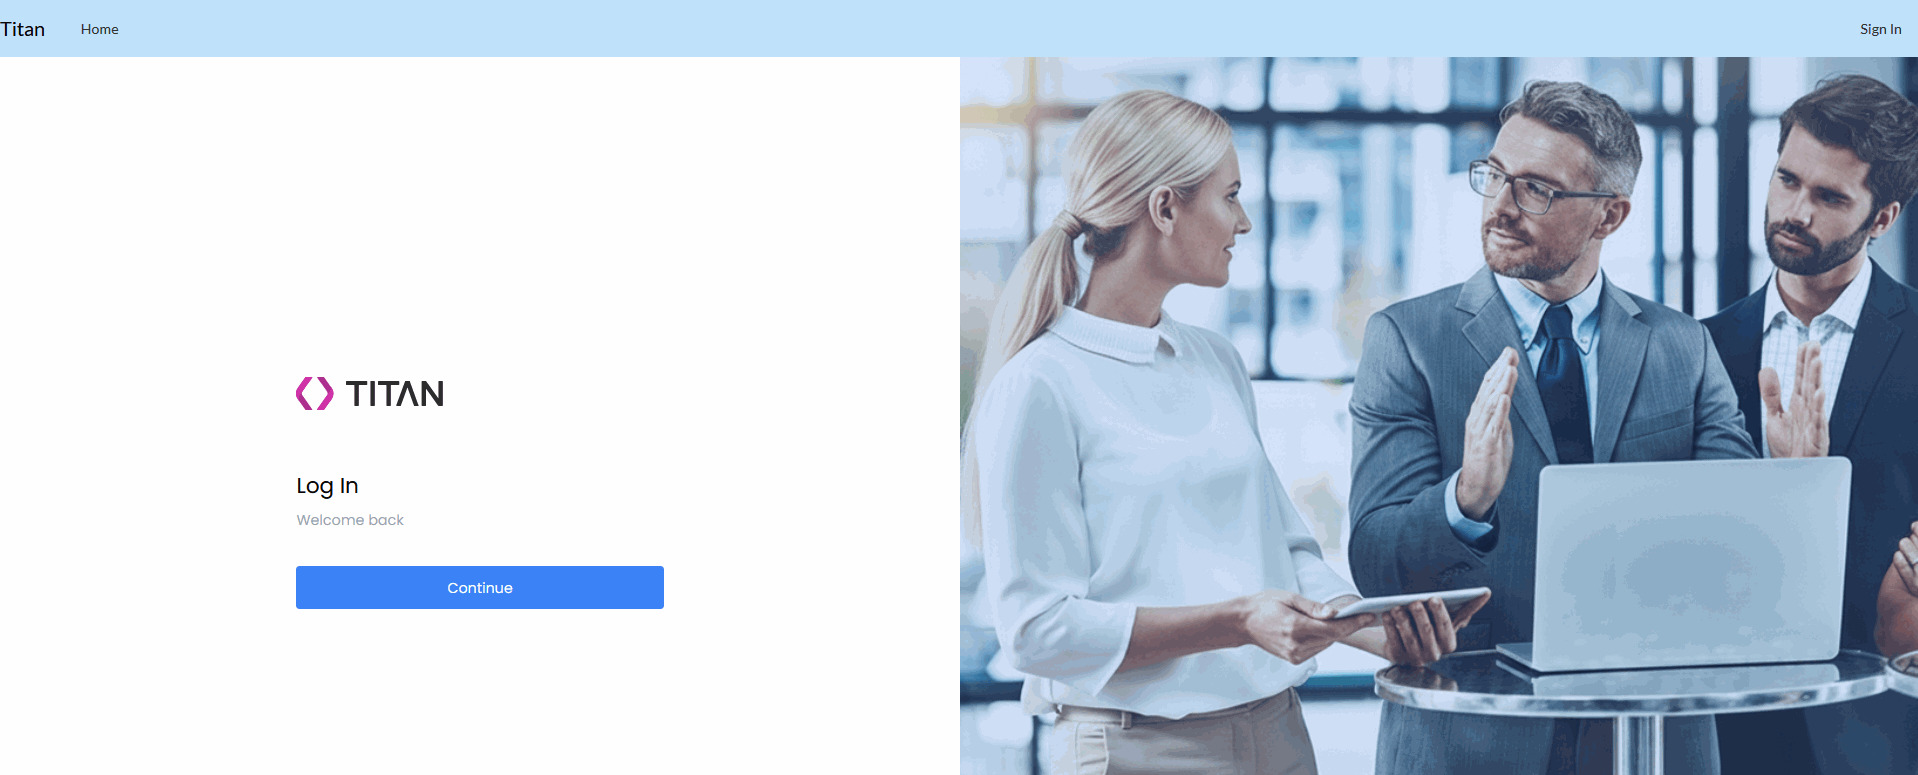
Test each feature enabled during the SmartV setup. The journey you need to test depends on your project configuration.
Where possible, use dedicated test accounts so that changes do not affect active Salesforce records.
Confirm that:
If two-factor authentication is enabled, confirm that:
If self-registration is enabled, confirm that:
If profile management is enabled, confirm that:
If access conditions are configured, test the project with users who meet them and those who do not.
Confirm that:
Publish the project after you have tested every enabled SmartV feature and confirmed that the login and account processes work correctly.
Open the published project and perform a final login test. This confirms that the header, SmartV pages, authentication settings, and Salesforce connections work correctly in the published version.
The generated pages depend on the features enabled during SmartV setup. For example, the Verification page is used when two-factor authentication is enabled, while the Registration page is used when self-registration is enabled.
Yes. You can change their layout, text, fields, and branding. Avoid removing fields or actions required for login, verification, registration, or profile management.
Confirm that SmartV is configured and that Include a header is enabled under Pages > Manage Menus. Save the project and open Preview mode after enabling the header.
Do both. Open each SmartV page in the visual builder to review its design, then preview the full project to test navigation, login, verification, registration, profile management, and access conditions.
Yes. Save, preview, and republish the project for the changes to appear in the published version.
On this page